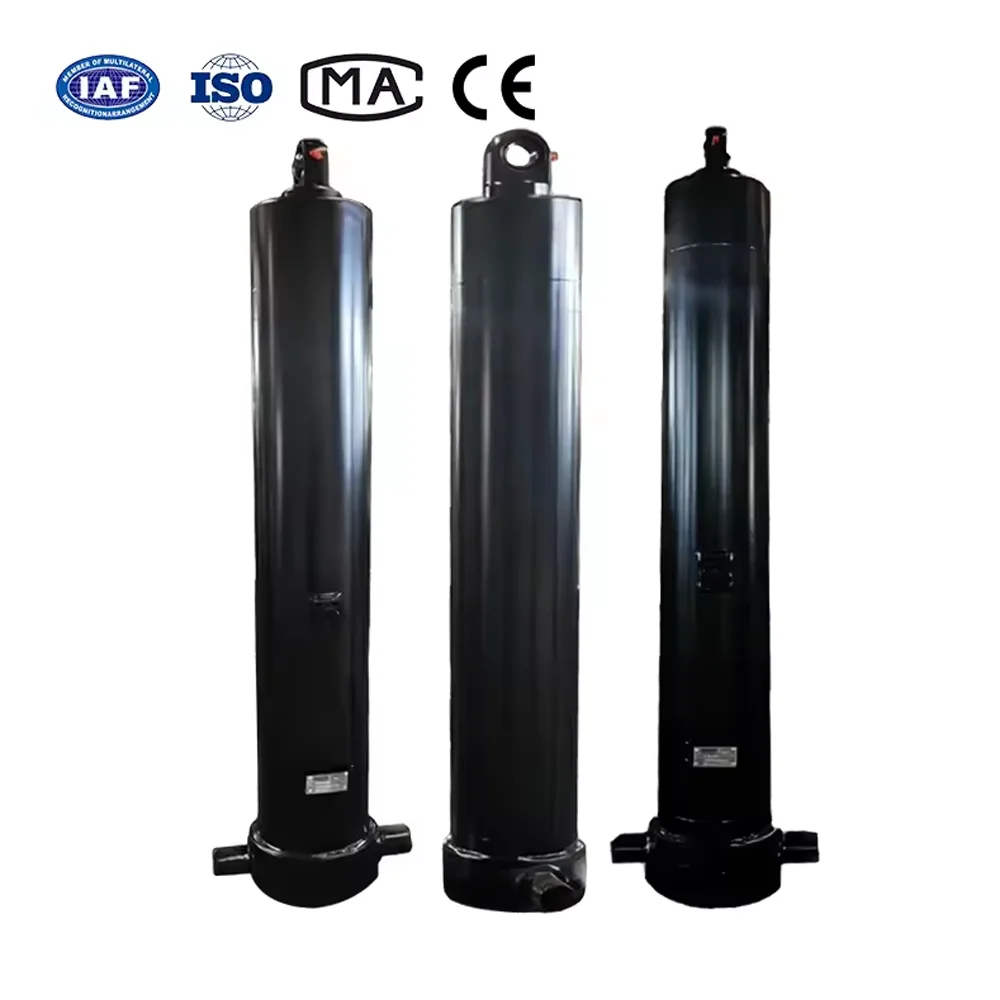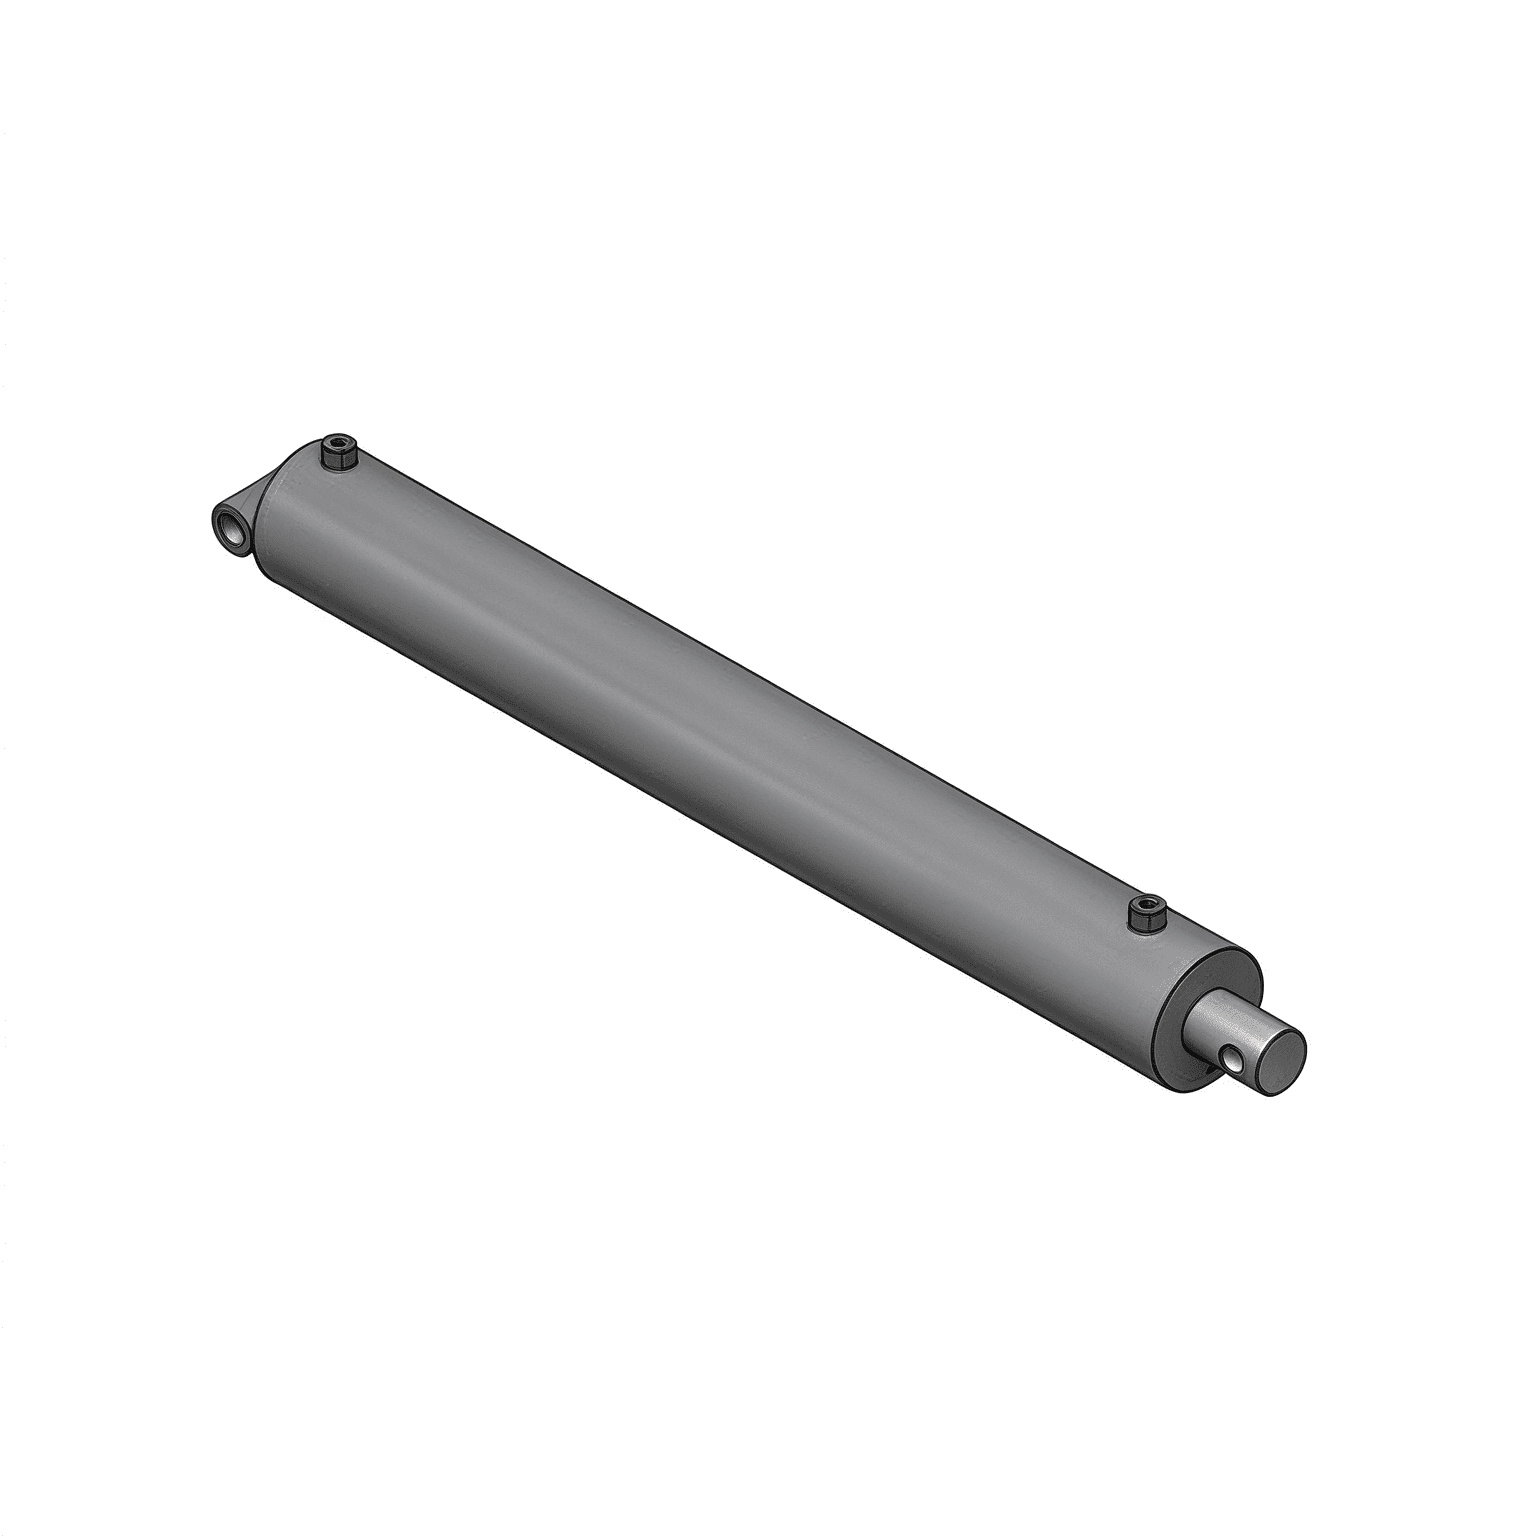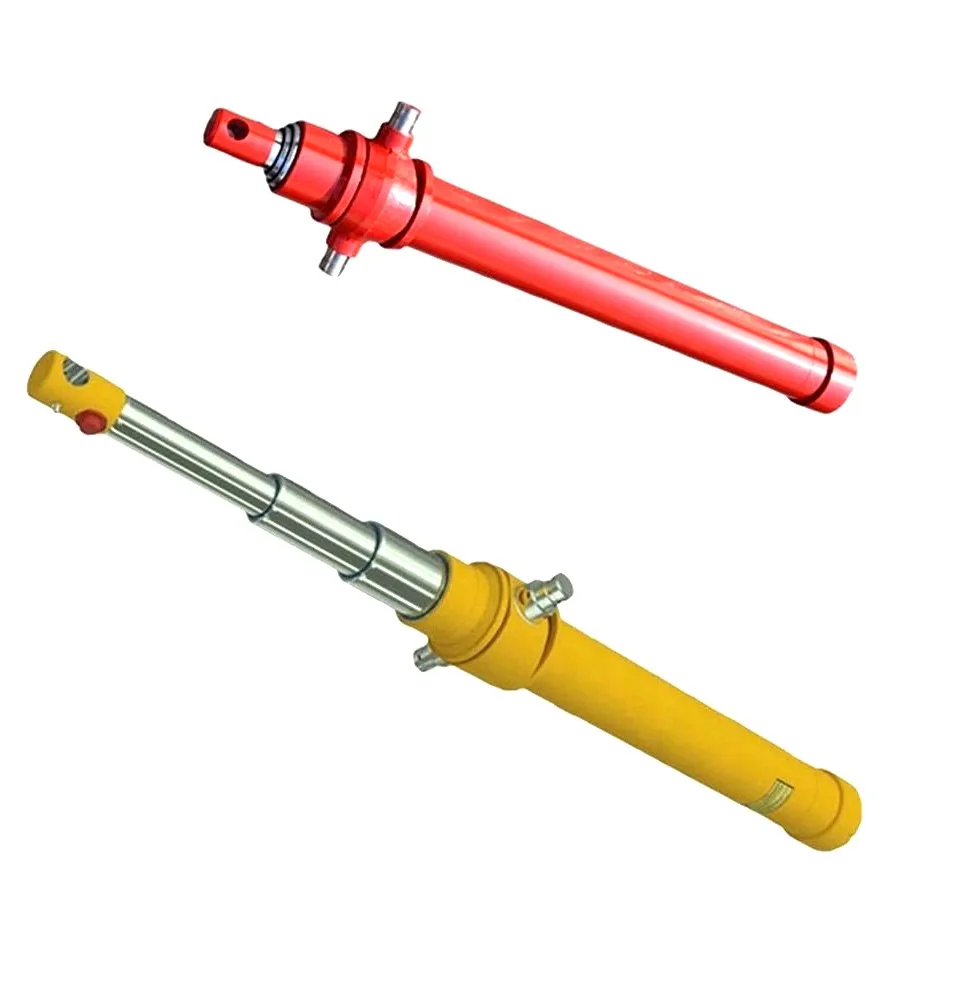
When a hydraulic cylinder begins to leak, the first response is often to order a replacement seal. That may restore the machine briefly, but it does not explain why the original seal failed. If the rod is scored, the groove is damaged or the seal was installed incorrectly, a new seal can fail in the same place.
Before cleaning the parts, record the leak location, operating condition, cycle direction, fluid temperature and time since the last repair. Photograph the external leak and mark the orientation of the removed parts. Small details can disappear during disassembly.
A failure review should distinguish visible evidence from assumptions. A damaged seal can show what happened at the contact surface, but it may not identify the original cause by itself.
Fluid appearing around the rod at the gland usually directs attention to the rod seal, wiper, guide, rod surface or gland condition. Check whether the leakage appears during extension, retraction, idle holding or all three conditions.
Fluid at the gland joint may be related to a static seal, fastener condition, joint surface or assembly problem. Do not automatically blame the dynamic rod seal when the fluid is coming from a stationary interface.
A cylinder can lose holding ability or drift without visible external oil. Possible causes include piston-seal damage, wear between the piston and tube, valve leakage or a system-level issue. A controlled test is needed before identifying the cylinder as the only cause.
Keep the removed seals in the order and orientation in which they came out. Separate rod seals, wipers, guide rings, piston seals and static seals. Use clean packaging and mark the rod end, pressure side and installation direction where known.
Do not stretch an elastomer seal unnecessarily during removal. Do not cut through the exact area that needs to be inspected. If a seal has fragmented, keep all recovered pieces and note whether material was missing.
The purpose of this step is simple: the seal must remain evidence, not become an untraceable spare part on a dirty bench.
A rounded lip can indicate prolonged sliding contact, but it should be interpreted together with rod condition, lubrication and operating history. A smooth appearance alone does not prove excessive pressure or incorrect material.
A clean cut may point to installation damage, a sharp edge, a thread or keyway crossing the seal, or a foreign object introduced during assembly. Inspect the path used to install the seal instead of replacing the seal without checking the entry geometry.
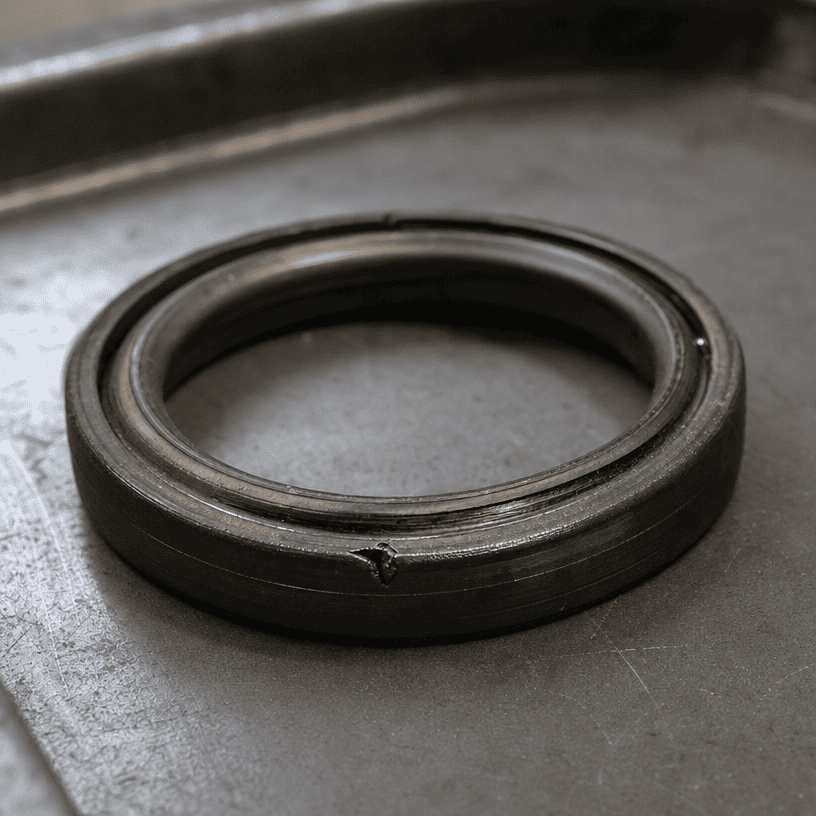
A seal that has been forced into a clearance gap may show a thin pulled edge, a pinched section or missing material. The possible contributors include excessive clearance, pressure conditions, damaged grooves, incorrect seal orientation or an incompatible seal profile.
Hardening or cracks can be associated with temperature exposure, aging, chemical incompatibility or unsuitable storage. Confirm the fluid, temperature history and storage conditions before selecting a replacement compound.
A swollen seal may indicate fluid incompatibility, contamination or temperature exposure. The correct diagnosis requires the original seal material, fluid specification and operating history. Do not identify the compound from appearance alone.
Particles pressed into the sealing edge can create a leakage path and may scratch the mating surface. Inspect the rod, tube, wiper, fluid cleanliness and assembly area. Replacing the seal without removing the source of the particles leaves the failure mechanism in place.
Check the rod for longitudinal scoring, pitting, corrosion, chrome damage, dents and a polished band where the seal runs. Run a clean cloth over the surface only after following the site's safety procedure; a rough edge can damage the cloth and the inspector.
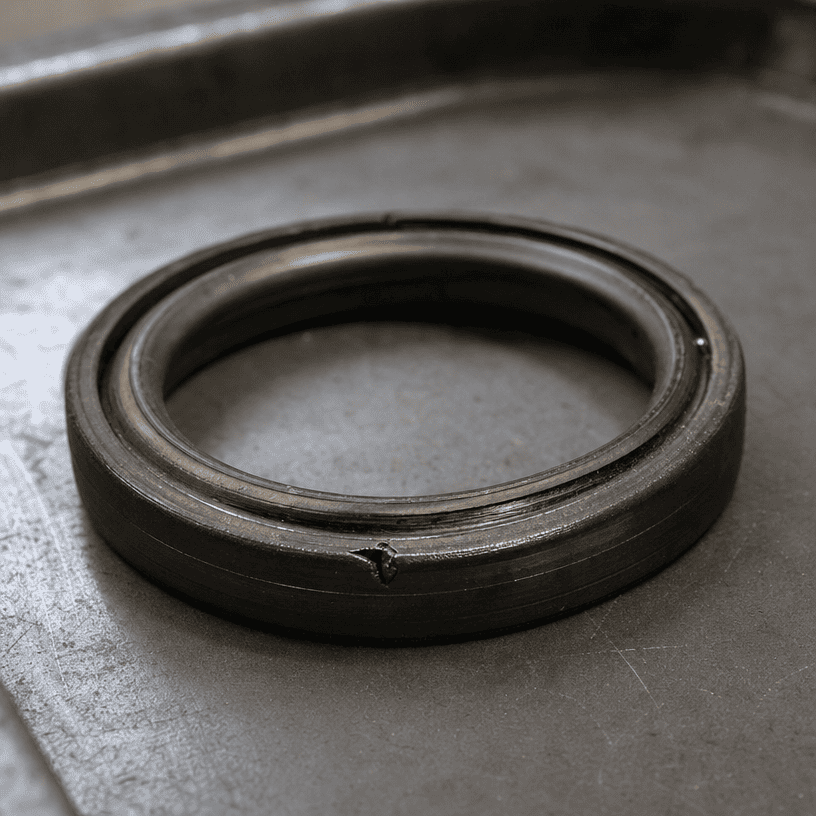
A rod can look bright and still have a defect that cuts the seal lip. Visual inspection should be supported by suitable measurement when the application is critical or the surface damage is difficult to judge.
Inspect the gland bore, guide surface and seal grooves for burrs, wear, scratches and distortion. The guide controls the rod position; if it is worn, the seal may be forced to accommodate movement that it was not designed to absorb.
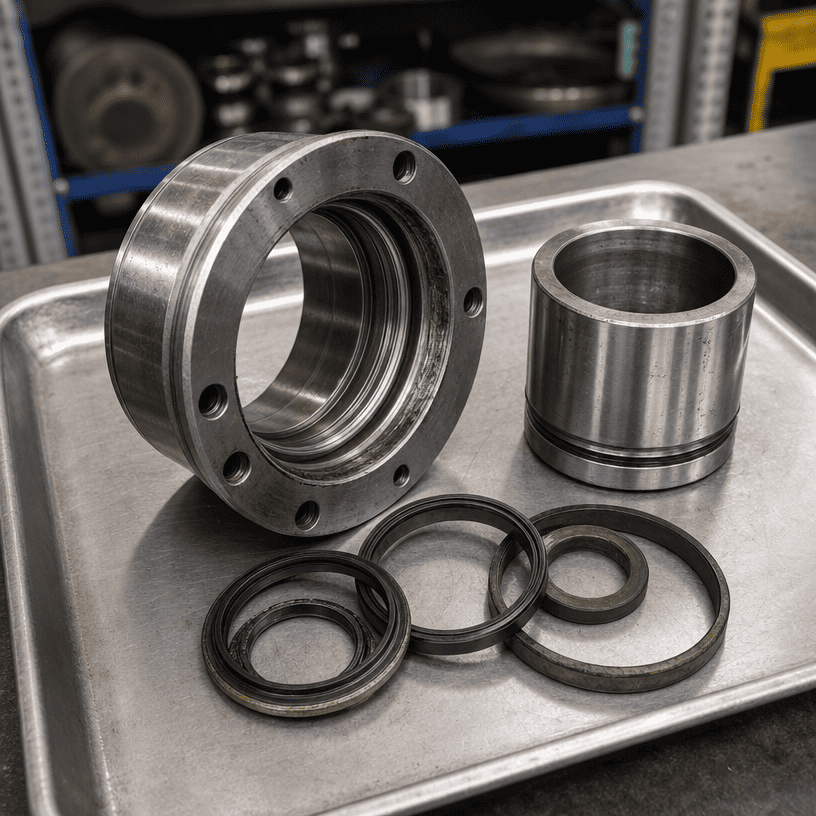
For internal leakage or unstable holding, inspect the tube, piston seal and wear surfaces. Look for scoring, unusual contact bands and damage concentrated on one side. These signs may indicate alignment or loading issues, but the conclusion should be based on the complete assembly.
| Evidence | Possible direction for investigation |
|---|---|
| One sharp cut at the installation path | Burr, thread, keyway or improper installation tool |
| Damage around the full sealing circumference | Fit, pressure, clearance, material or operating condition |
| One‑sided wear band | Guide wear, alignment, rod deflection or uneven contact |
| Particle tracks near the lip | Wiper performance, fluid cleanliness or assembly contamination |
| Hardened or cracked material | Temperature, aging, storage or fluid compatibility |
| Repeated failure at the same stroke position | Rod or tube surface defect at a fixed location |
These are investigation directions, not automatic diagnoses. A seal pattern should be compared with the cylinder drawing, fluid data and operating history.
A replacement seal can fail early when the original cause remains in the machine. Common examples include:
- Installing a seal over an unprotected thread or keyway
- Leaving a burr in the groove or gland
- Reusing a damaged guide or wiper
- Ignoring a scored or corroded rod
- Selecting a seal without checking fluid and temperature compatibility
- Fitting the seal in the wrong orientation
- Allowing dirt into an open cylinder during assembly
- Returning the cylinder to a misaligned mounting arrangement
A repair should address the damaged seal and the surface or assembly condition that acted on it.
A seal-only repair may be reasonable when the mating surfaces, grooves, guide and tube are within the required condition and the failure is traceable to a replaceable installation issue.
A broader cylinder review is more appropriate when the rod is deeply scored, the guide is worn, the gland is damaged, the tube shows abnormal wear, internal leakage continues or the same failure returns after correct assembly.
The decision should be based on inspection and the cost of repeat downtime, not only on the price of a seal kit.
For a replacement or failure analysis, provide:
- Cylinder drawing or clear dimensional measurements
- Bore, rod diameter and stroke
- Mounting dimensions and port information
- Photographs of the complete cylinder and damaged parts
- Seal position and orientation
- Fluid type and operating temperature range
- Pressure and cycle information when available
- Description of when the leak occurs
- History of previous seal replacements
- Condition of the rod, guide, gland and tube
Clear evidence helps separate a dimensional replacement request from a root-cause review.
A failed hydraulic seal is a record of contact between the seal, its mating surfaces and the operating environment. Preserve the parts, label their orientation, inspect the rod and guide, confirm fluid and temperature conditions, and separate visible evidence from assumptions.
For an OEM replacement or technical review, provide the cylinder dimensions together with photographs and failure history. A reliable solution begins with understanding why the seal failed, not simply installing another one.